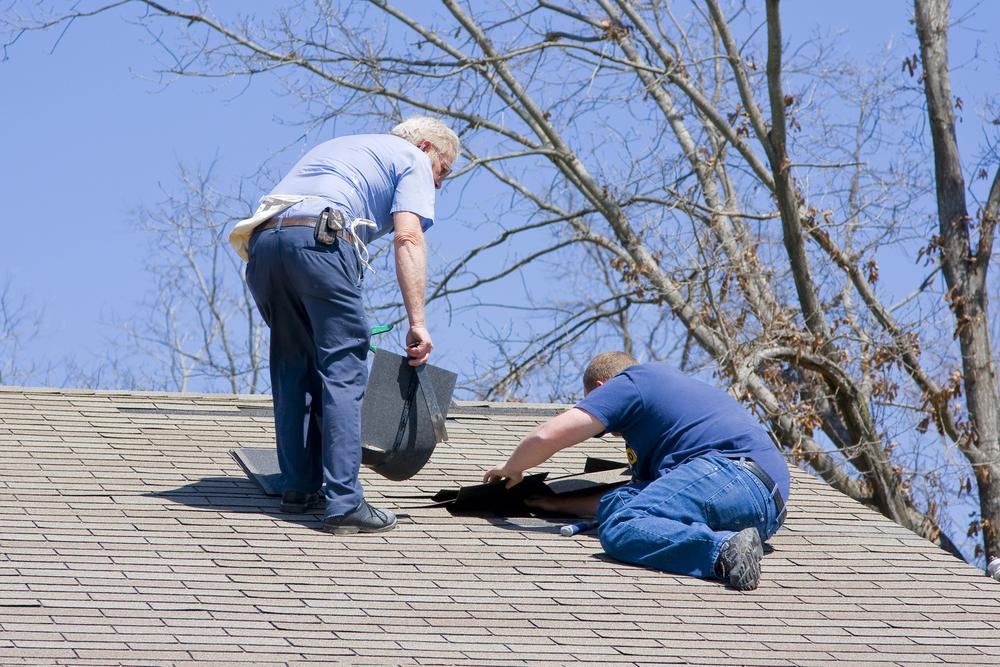
Extreme weather can happen at any moment, leaving your home vulnerable to damage. Unfortunately, homeowners can face costly repairs even without seeing massive destruction to their residences. Inspecting a home for storm damage after severe weather can ensure that unknown problems will not become expensive repairs later.
Performing a Storm Damage Inspection
After experiencing extreme weather, the first thing a homeowner should do is perform a storm damage inspection. This process entails both outside and inside examination to take note of any possible issues.
Some situations that will require you to examine the state of your home for damage include:
- Flooding
- Fallen trees
- Lightning strikes
- Heavy rains
- Flying debris from high winds
- Excessive winds
Knowing what to look for and where to look can save you time and money when you are inspecting a home for storm damage immediately after the event. In addition, the sooner you can determine issues, the quicker you can get to repairs to minimize future problems.
A Step-by-step Guide to Inspecting a Home for Storm Damage

Assessing any damage your home incurred due to a recent storm will indicate what you will deal with for cleanup and repairs. Handling the aftermath of severe weather can be problematic if you don’t know where to start.
Here is a simple step-by-step guide to inspecting your home for storm damage you can follow the next time extreme weather hits.
- Step 1: Make Sure Everyone Is Safe
- Step 2: Look for Harmful Debris
- Step 3: Examine the Roof’s Condition
- Step 4: Look at the Home’s Exterior
- Step 5: Check Out the Windows
- Step 6: Explore for Yard Damage
- Step 7: Check the Air Conditioner and Electrical Appliances
- Step 8: Look for Water Stains or Spots Inside
- Step 9: Examine the Attic, Basement, and Crawl Spaces
- Step 10: Call Your Insurance Company
Step 1: Make Sure Everyone Is Safe
Before heading outside to start looking for storm damage, you want to make sure you and everyone in the home are safe. Broken or fallen power lines can be deadly, so avoid these areas until a professional can secure them.
Step 2: Look for Harmful Debris
Do any trees have broken branches or fallen in your yard during the storm? Often with severe winds, items will blow around and cause damage to nearby structures. A proper storm damage inspection will include debris in your yard or around your home.
Step 3: Examine the Roof’s Condition
Thankfully, you do not have to get a ladder and start climbing your roof. Instead, walk around the outside of your home and look at the roof for debris. See if you notice any missing or broken shingles or areas where they raise up.
If you have a chimney, see if the metal flashing material around it is dented, raised up, or missing.
Step 4: Look at the Home’s Exterior
While inspecting a home for storm damage, see if you have any siding damage or visible problems with your eaves, gutters, and downspouts. Broken or clogged gutters and eaves can cause damage to your home long after a storm if water cannot correctly drain away from your roof.
Step 5: Check Out the Windows
Do you have any broken or cracked windows? Inspect each outside window frame and glass for cracks, breaks, holes, or separation with the edges. These issues can create further problems if water can enter your home due to cracks or gaps between the house’s walls and a window.
Step 6: Explore for Yard Damage
Many homeowners will have other structures in their yard. When inspecting a home for storm damage, examine garden sheds, kids’ playhouses, fencelines, and anything else in your outdoor living space that may have issues.
Step 7: Check the Air Conditioner and Electrical Appliances
If you have an air conditioner for your home, check out the entire unit. Look for broken pieces, disconnected hoses, or leaking water from the unit. Do not operate it until you are sure it is in proper working condition.
Next, examine your electrical appliances in the home. Some major appliances can sustain electrical damage during lightning storms. Check the plugins where they sit for any charring or burnt marks and see if you detect an electrical smell in those areas.
Step 8: Look for Water Stains or Spots Inside
Do a thorough walk-through of your home and examine the walls and ceilings for any water stains or wet spots. These areas can indicate a leak from outside. If you have any roof damage, take extra care to examine the ceiling below those damaged sections.
Step 9: Examine the Attic, Basement, and Crawl Spaces
Many homeowners will overlook their attic and crawl spaces, only checking the basement for flooding. While you must inspect the lower levels of the home, do not forget to check the attic and crawl spaces for signs of water. Often roof damage or cracked siding can leak water into these areas before it reaches inside your home.
Step 10: Call Your Insurance Company

Once you complete your storm damage inspection, take stock of any visible damage your home has, and make a call to your insurance company. Be sure to write down any issues you found and keep records of problems with your home.
Depending on the damage and your insurance company, they may send an adjuster right away.
Inspecting a Home for Storm Damage Is Vital
Navigating cleanup and repairs after a severe weather occurrence can be exhausting and costly, depending on the damage your house suffers. Following this storm damage inspection checklist can help make this stressful situation a little easier for homeowners.
Remember that if you are not comfortable inspecting a home for storm damage or there is a risk of injury due to debris, a call to the professionals is a safe and reliable option. Storm damage experts can assess your property for any possible damage and help get your home cleaned up and back to new quickly. If you need a reliable contractor for your storm damage inspection, contact A to Z Construction today.


