In the aftermath of a storm, the last thing you want to worry about is the state of your roof. Yet, it’s often one of the areas most susceptible to damage. Understanding the storm damage roof repair process can alleviate some of the stress associated with this situation. Let’s walk through what happens from start to finish.
Assessing the Damage
When you notice damage to your roof after a storm, the first step is to assess the extent of the damage. This involves inspecting the roof for any missing shingles, cracks, or leaks. It’s crucial to document the damage thoroughly, as this will be essential when filing an insurance claim.
Filing the Claim
Once you’ve documented the damage, the next step is to file a claim with your insurance company. This typically involves contacting your insurance agent and providing them with the necessary information and documentation. They will then send an adjuster to assess the damage and determine if the claim is valid.
Approval and Payment
If the insurance company approves the claim, they will issue a check to cover the cost of repairs. This check is typically made out to you and your contractor or construction company. Once you receive the check, you can provide it to your contractor to initiate the repair process.
The Repair Process
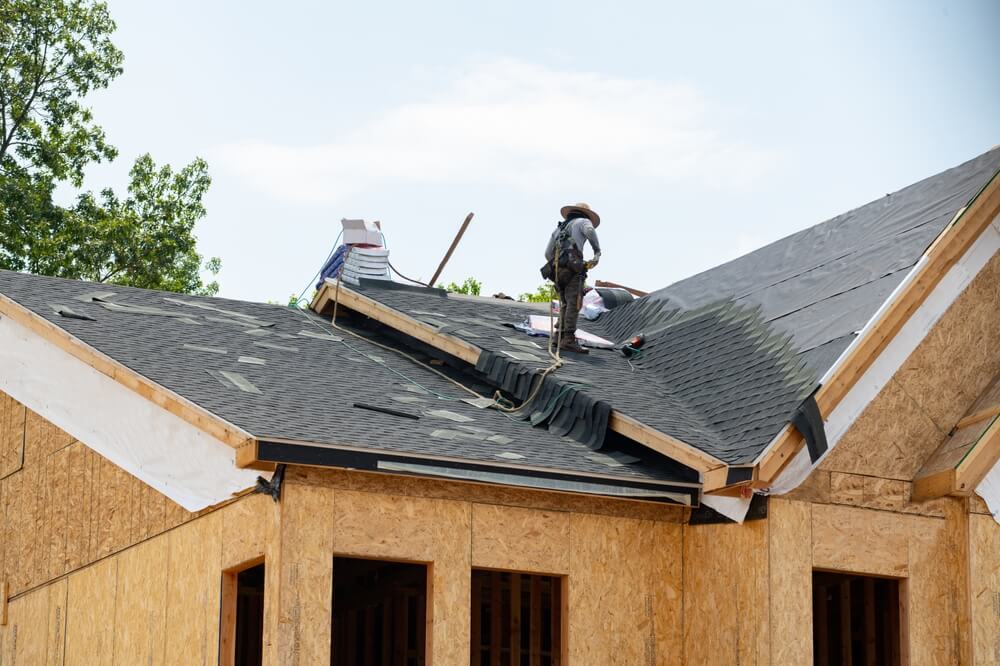
With the necessary funds in hand, your contractor can begin the repair process. This typically starts with cleaning the area around the roof to ensure a safe working environment. A netting system may be set up to protect the sides of your home during the tear-off process.
Tear-Off and Underlayment
The next step is to remove the damaged shingles and any underlying materials. This process, known as tear-off, involves stripping away the old roofing materials to prepare for the installation of new ones. Once the roof is cleared, the contractor will install new underlayment to provide an additional layer of protection against the elements.
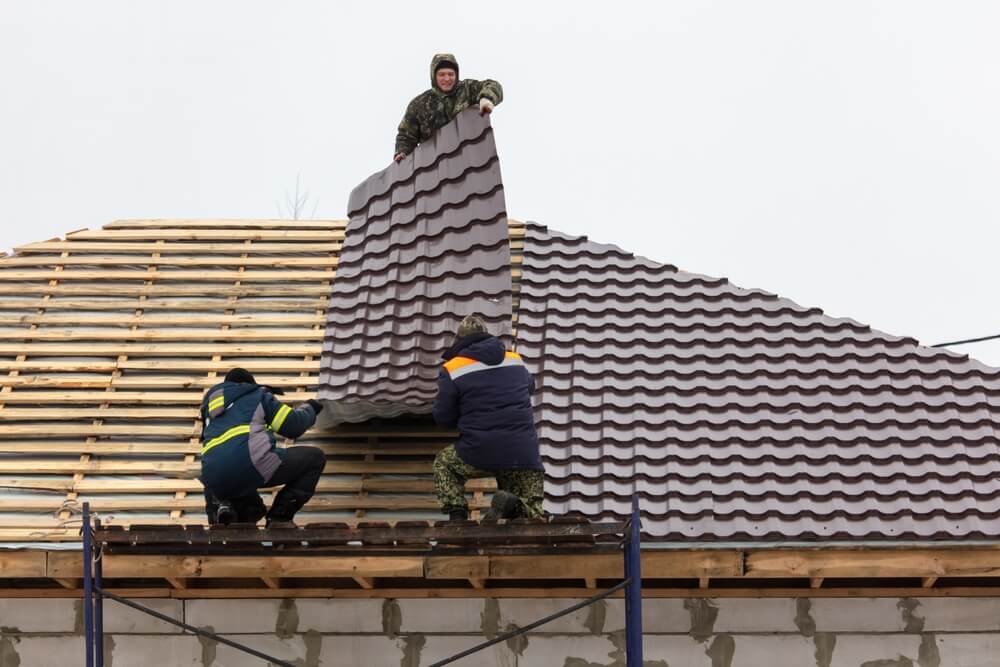
Reshingling
With the underlayment in place, it’s time to reshingle the roof. New shingles will be carefully installed to ensure a secure and watertight seal. This step not only restores the appearance of your roof but also enhances its durability and longevity.
Cleanup and Inspection
Once the new roof is installed, the contractor will thoroughly clean up the area, removing any debris and ensuring that your property looks as good as new. A magnet may be used to pick up any stray nails to prevent injury and damage to your property.
Conclusion
Experiencing storm damage to your roof can be a stressful experience, but knowing what to expect during the repair process can help ease some of that stress. By following these steps, you can restore your roof to its former glory and protect your home from further damage. If you find yourself in need of assistance, don’t hesitate to contact A to Z Construction today for reliable and professional roof repair services.